A WET SHAKE AND VAULT OVERHAUL
26 September, 2019 – Written by Steve Caron
In my previous article located here I described how and why I built my second seismic vault, I call vault Version 2.0. I used Version 2.0 for 13 months without an issue. One day, however, I noticed that the Shake had stopped sending data. This was unusual. I have never had issues with the shake sending data.
I had not opened the vault in around 2 months as I had grown confident in the vault design and felt there was no need to keep a constant check on it, but now I had a reason to find out what was going on. After opening the vault, I saw about an inch of water at the bottom. The water was almost to the Shake and had reached the POE (Power over Ethernet) and shorted it out. It was close, but the Shake was not harmed. I had only lost the POE power.
To this point, I never considered water coming in from the bottom of the vault. I noticed a nearby sprinkler valve was leaking, so, I convinced myself that enough water had been added to the soil from the leaky valve, to cause condensation inside the vault… needless to say I was wrong!
VAULT 2.1 AND NEAR DISASTER!
While still under the impression that condensation was the issue, I constructed my fix. I put back the spray insulation between the outer concrete ring and the pier as before. However, this time I added a vinyl shower pan liner on top of the exposed dirt. My thought was that any moisture would be stopped by the combination of liner and foam.
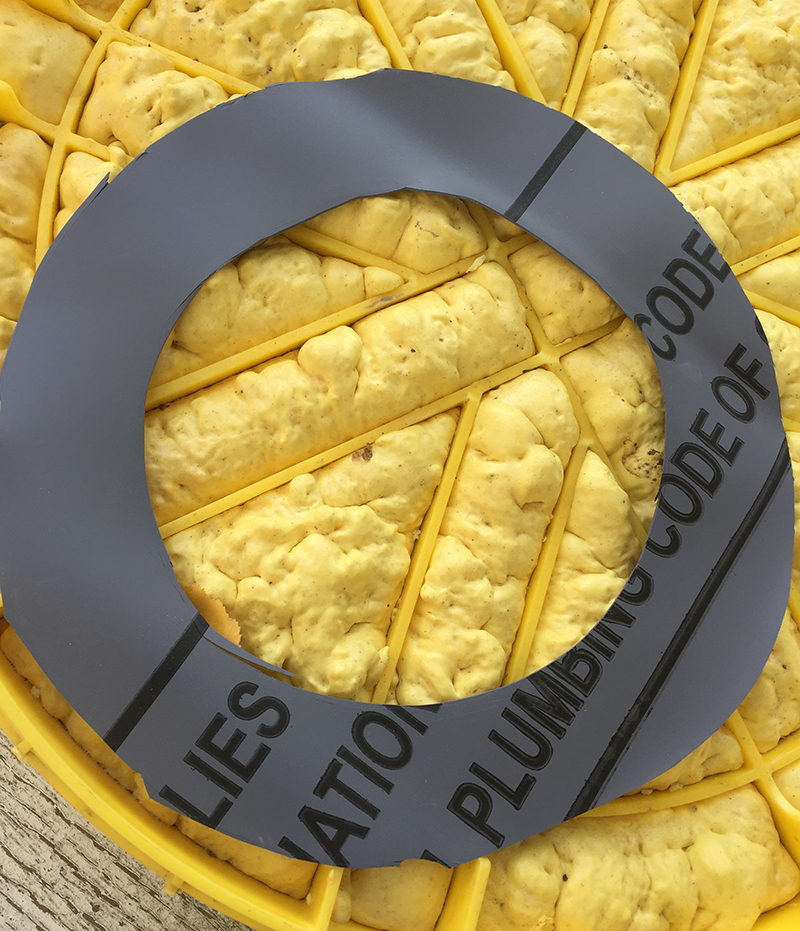
Confident in my thinking and fix, I put the shake back in the updated vault. Within a couple days, we received about ½ inch of rain and things remained dry. The day after this first downpour we received over an inch of rain. This time, things did not remain dry.
While I was at work water had entered the vault and completely submerged my shake! Fortunately, the POE sacrificed itself again and the Shake was not powered when it was submerged. However, I still had an underwater Shake.
I removed the wet Shake and disassembled it. I placed the PI and the Shake components in air tight container with some rice and two 40g desiccant packs. I then waited… I waited a long 48 hours. After the 48 hours I put the RS4D back together and applied power. It worked! What a relief, and I have not noticed any issues since the Shake came back into service.
VAULT 2.2
I finally realized and accepted that I did not have a condensation issue, but a water issue. This time, I would not use foam, but concrete. I filled in the section where I had previously used spray insulation foam, with concrete. I also added multiple coats of water proofer and concrete caulk in the seams between the outer concrete ring and pier.
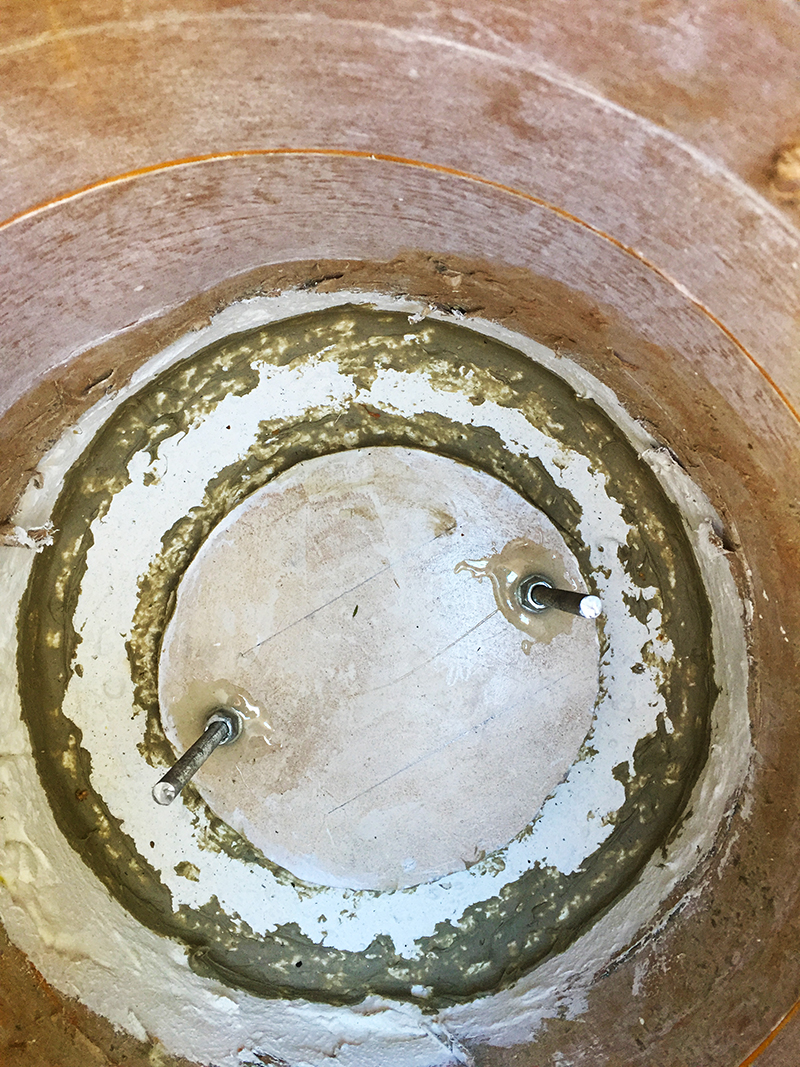
I was not going to put the shake back into the vault until I was confident I had a watertight vault. I had to wait for the next rain storm to test version 2.2. This being a very rainy year, I did not have to wait that long. Half an inch of rain and conditions are dry but the next day with an additional 1 inch of rain, it was failure again. Water had made its way in. At least this time, the shake was setup in the garage and remained dry.
WHAT NEXT?
I debated what my next step would be. I thought about pouring a layer of concrete in the bottom of the vault to see if this would seal out the water. However, I felt this was probably just a stop gap and not the right approach. This solution felt like just another patch and not a long-term fix. After thinking it over, I decided to do things right and knew it was time to go back to the drawing board and create vault Version 3.0.
DESTRUCTION AND CONSTRUCTION
I began the tear down process of vault 2.2. I removed the spray insulation. I noticed nothing had pierced the container. I dug around the vault to expose the concrete I had poured to hold the container in place. I gained access to an electric jack hammer to remove the old concrete.
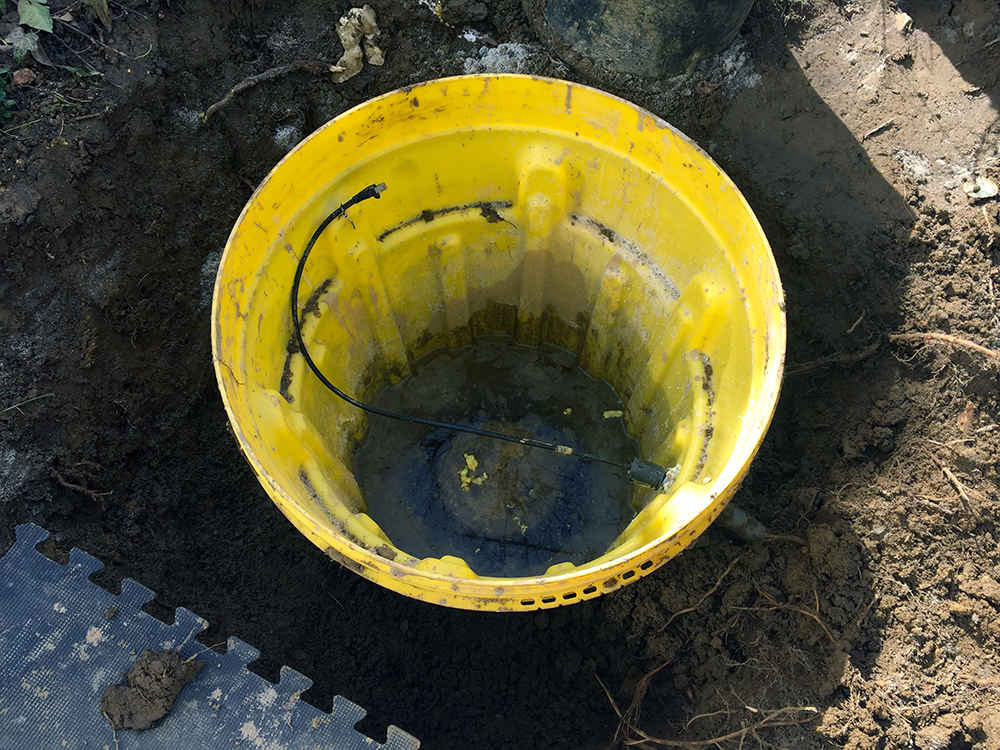
Beginning removal with water still inside
I do not think I could have removed the old concrete without the jackhammer. This took a lot of effort. The jack hammer was heavy, I was in the hole on a slope, and the clay soil was muddy. I also had to be careful not to pierce the container with the jack hammer. After about an hour or two the container was free from the hole.
Vault 3.0. – What would be different? Not a whole lot, but I did want to change a few things from what I did with vault 2.0:
- The container would be sunk into a bed of cement and not sit on bare earth. This would be the biggest and most important change.
- Replace the original ethernet cable with 2 new cables. The original’s connection was a bit charred and warn from 2 shorts. With 2 cables, I would either have spare connection or I could use it to power something else other than the Shake.
- Use 1:1 portland cement to sand for my cement. I used premixed concrete in vault 2.0
- Use the provided ‘keyhole’ anchor to hold the Shake in place
With the old concrete cleared out and the hole cleaned up. I had to wait for the ground to dry out a little before doing any cement work.
It took three separate pours to get the work done. This was due to the rainy weather and the amount of work I could do in a weekend.
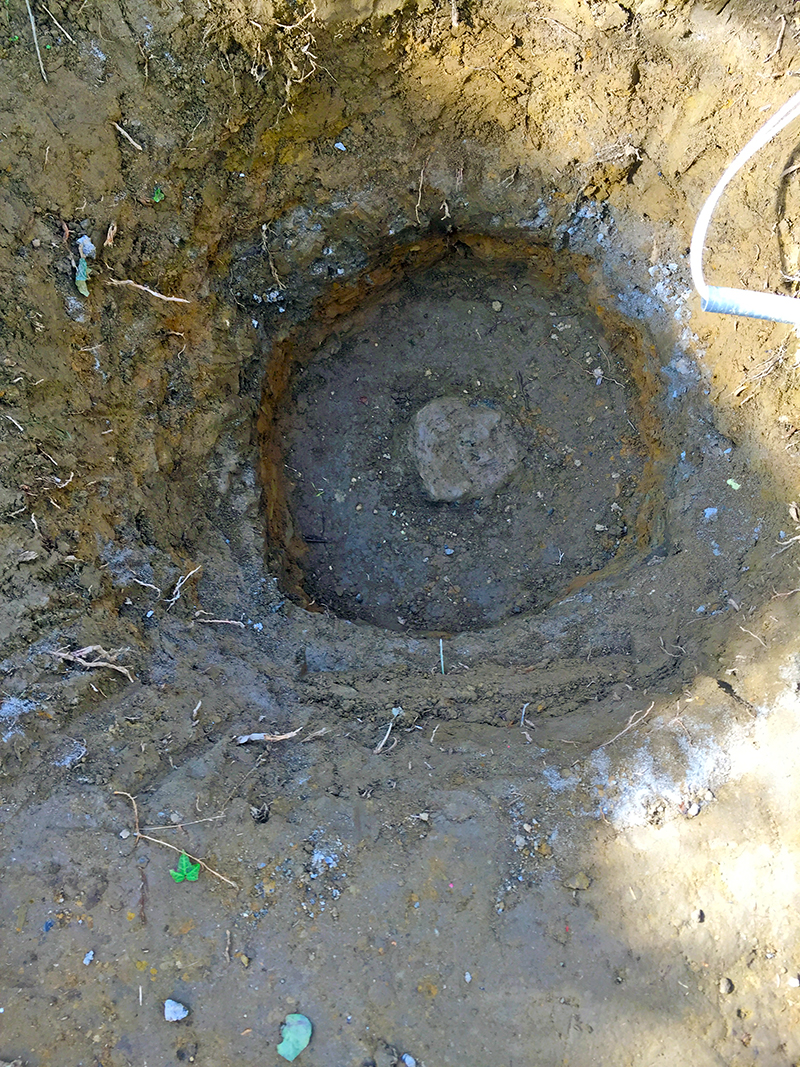
Prepping for rebuild with the old pier exposed
Step 1 was to pour the 1:1 mix to about 7 inches deep in the bottom of the hole (approx. 2ft x 2ft). I would pour over the top of the original pier. I had marked the inside of the container with marks to 3 inches. I pushed the container in the 7” bed of cement until the 3” mark was reached. Now I would have a watertight seal (hopefully!). I continued to pour cement around the exterior of the container until it was about 6 or 8 inches above the bottom of the container.
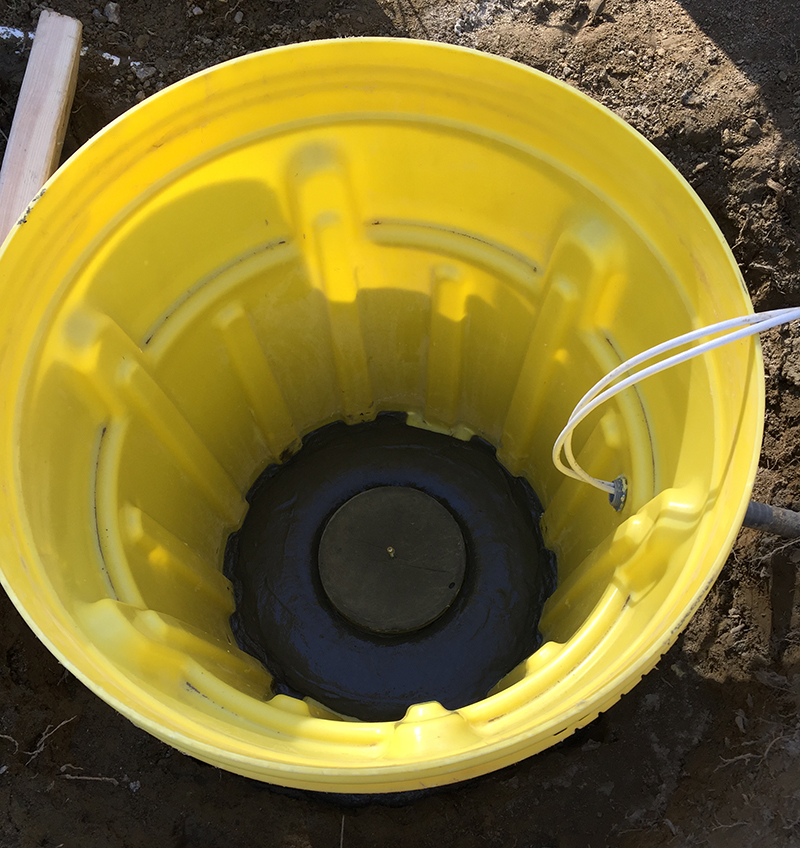
Pour 1 with cement disc in place
A couple of days earlier, I had created a 3-inch-deep by 8-inch diameter cement disk to place the Shake on. If water did get in, the power supply would sit lower than the Shake and short before water reached the device. I placed the pre-made disk into the concrete on the bed of wet cement. The plastic sleeve was in place on the disc to accept the screw for the keyhole fastening.
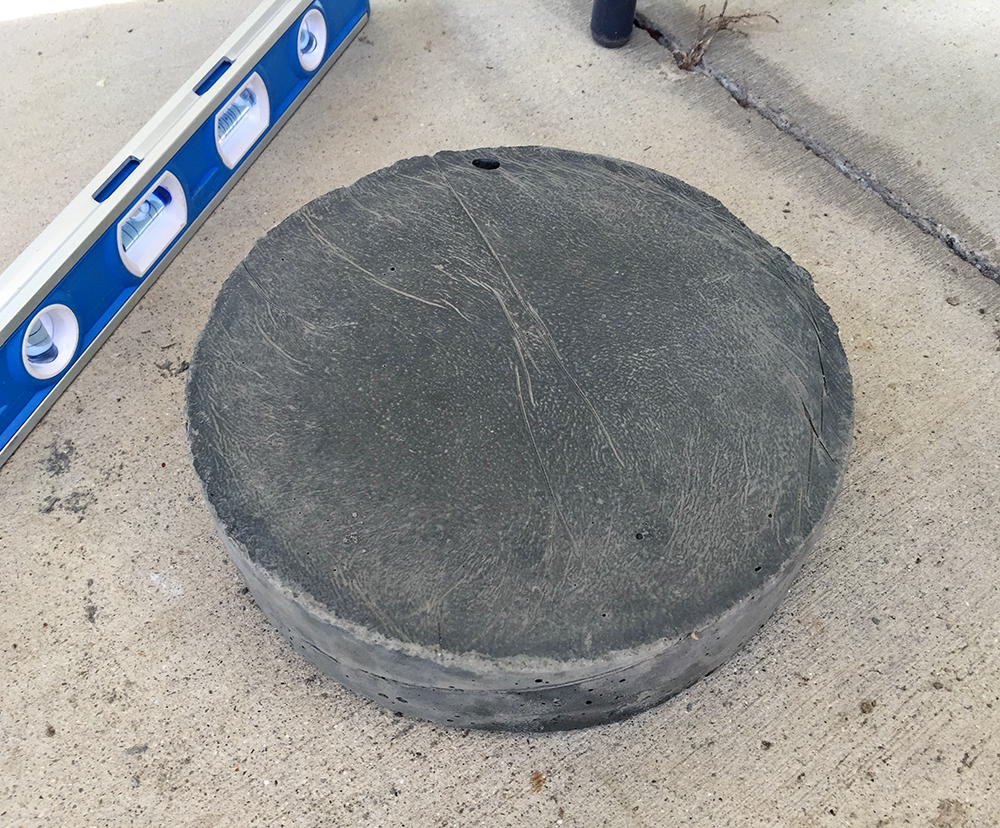
Pre cast cement disc
I had to stop at this point and backfill to protect the container from the elements because rain was expected during the week. About three days later we had 6 straight days of rain totaling 2.89 inches. Still dry. A couple of days later, another 0.5 inches of rain over 2 days and still dry. I was still nervous about placing the Shake back in the vault, but my confidence was growing.
Then the big test came. A storm system moved through and we received 3.13 inches of rain in 12 hours. The vault was completely dry. Now, I was completely confident. We have only ever received over 3 inches of rain in a day, twice in 15 years where we live. If water did not get in after this amount of rain. I do not think it ever will.
When we had a break in the rain, I was able to finish my concrete pours. The second pour was done to line the remainder of the container from where I left off on the first pour. The third and final pour was for the slab to hold the wood frame that my existing cover would sit on. I just thought the wood frame was more visually pleasing than the cement wall I had around the vault before.
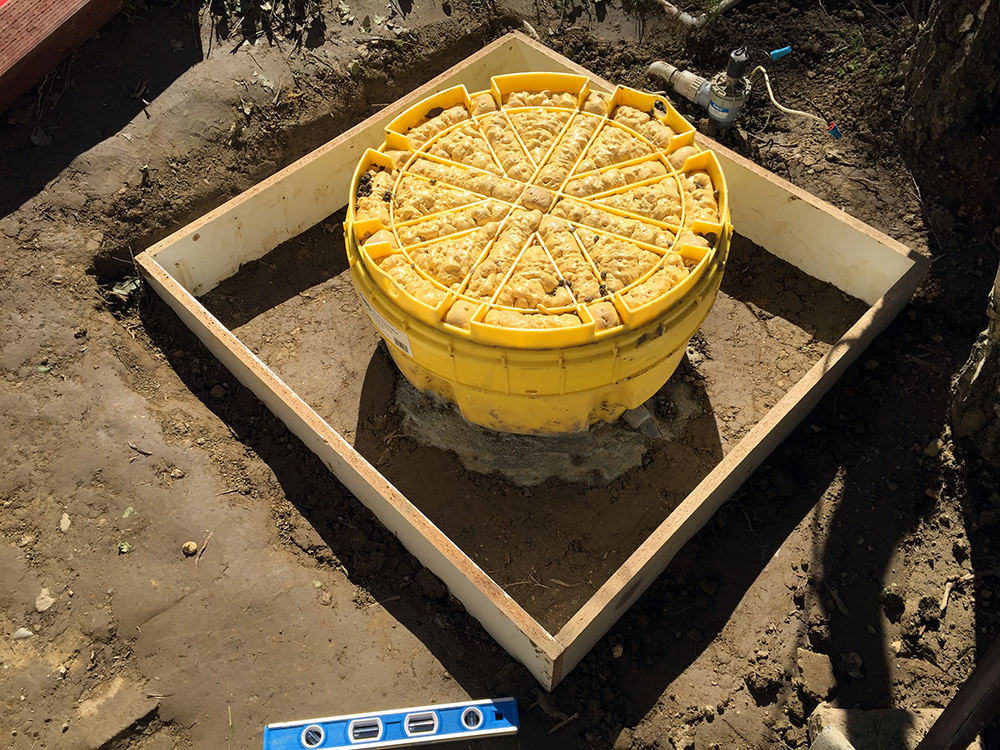
Prepping for concrete pour 3
VAULT 3.0 READY & 100% DRY!
I was finally done. Vault 3.0 was complete and operational. The construction process took almost 2 months to finish. This was mostly due to near record amounts of rain in Jan and Feb causing me to have to wait for the ground to dry before moving on to next step in the build process.
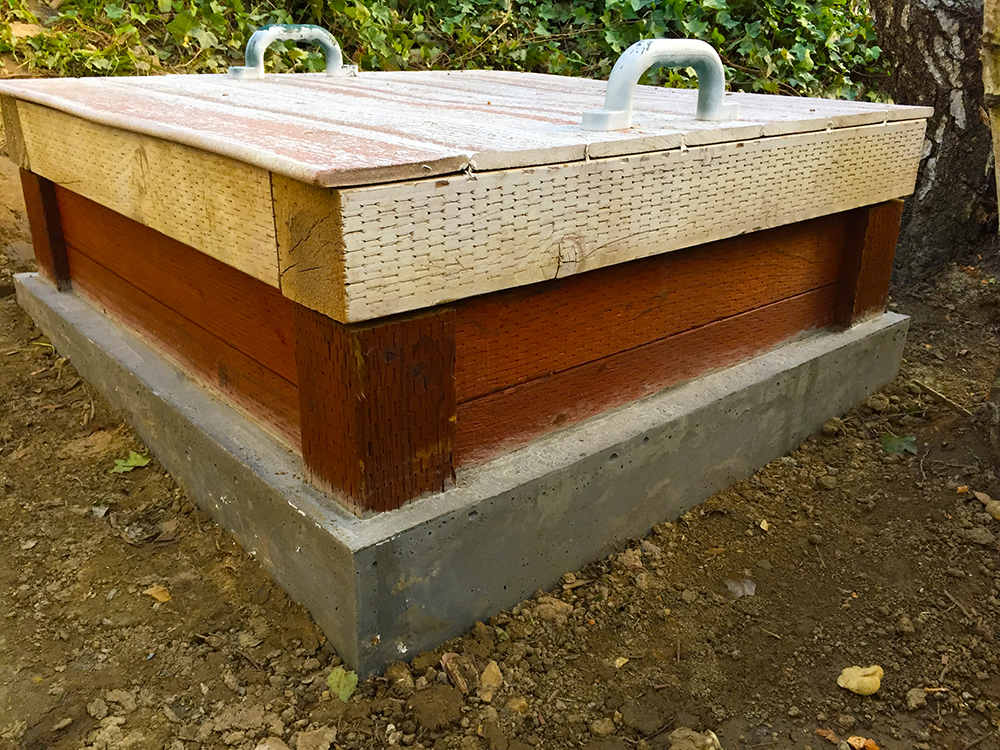
Vault 3.0 completed
I would not have needed 3.0, if I had made 2.0 right the first time. However, I was convinced that in dry California, water coming in from below would never be a problem. It took over a year, but my design flaw in version 2.0 finally surfaced.
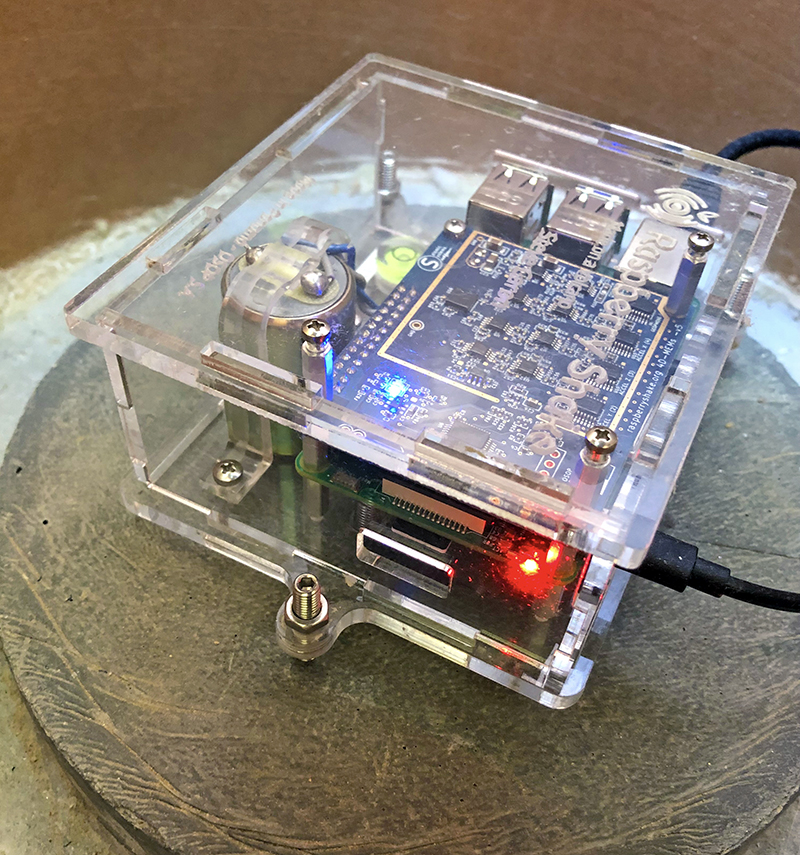
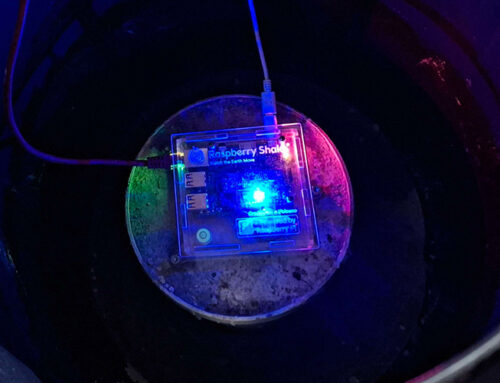
Inside Vault 3.0
One last thing, I made use of the second cable in the vault. I had a spare PI and bmp280 temperature/humid/pressure sensor left over from a previous project. I added them to the vault. Now, I can track the temperature, humidly, and pressure inside. I have the sensor down low by the Shake to best capture the environment the RS4D is operating in.
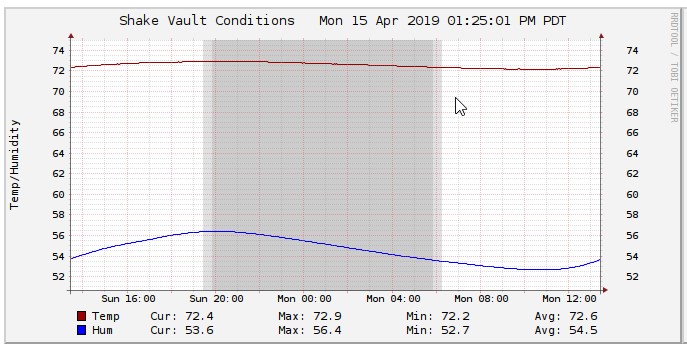
You can see the activity from Steve’s RS4D over on Station View here.
At Raspberry Shake we would like to say a huge thank you to Steve Caron for sharing details of his vault overhaul. In an upcoming article he has promised to share how he has been using the data he is recording from his Raspberry Shake.


