Raspberry Shake Vault in the Netherlands
April 14th, 2025 – by Mr. Insane
Background
In the past few years, I’ve gotten really interested in the art of seismology. I remember clearly when the 2024 Hualien earthquake struck Taiwan – this motivated me to provide research in the form of footage.
I searched online for communities focused on earthquakes, and I found GlobalQuake. While actively communicating with others, I learned more about the frequency and damage earthquakes can cause. And, after a while, I created a YouTube channel dedicated to archiving recent earthquake footage.
Being fifteen years old at the time, I focused on scavenging videos from sites like X, Facebook, and apps like TikTok and Instagram, putting them into compilations that I would then post. This became my routine for a few months.
Later, my focus shifted to more local seismic activity, particularly after the 2024 M 5.4 earthquake near Lisbon. Being from the Netherlands, where earthquakes are rare, I was intrigued by even the slightest tremors. During this period, I discovered Raspberry Shake – a compact seismograph designed for personal and research use. It became my big goal to acquire one of their Seismographs. Since, at the time, I had pretty much nothing, and it felt quite impossible. However, I improvised in my own way.
The QuakeCam
My solution to not having a Raspberry Shake seismograph was to make a QuakeCam, which could monitor seismic activity in the form of visual footage. Instead of using a seismograph, I used visual indicators. I started my first setup on December 4th, 2024, using my phone to stream to YouTube when I didn’t need it. The first displays featured simple objects like hanging coins, markers, and other household items that could visibly react to ground movement. Nothing too special.
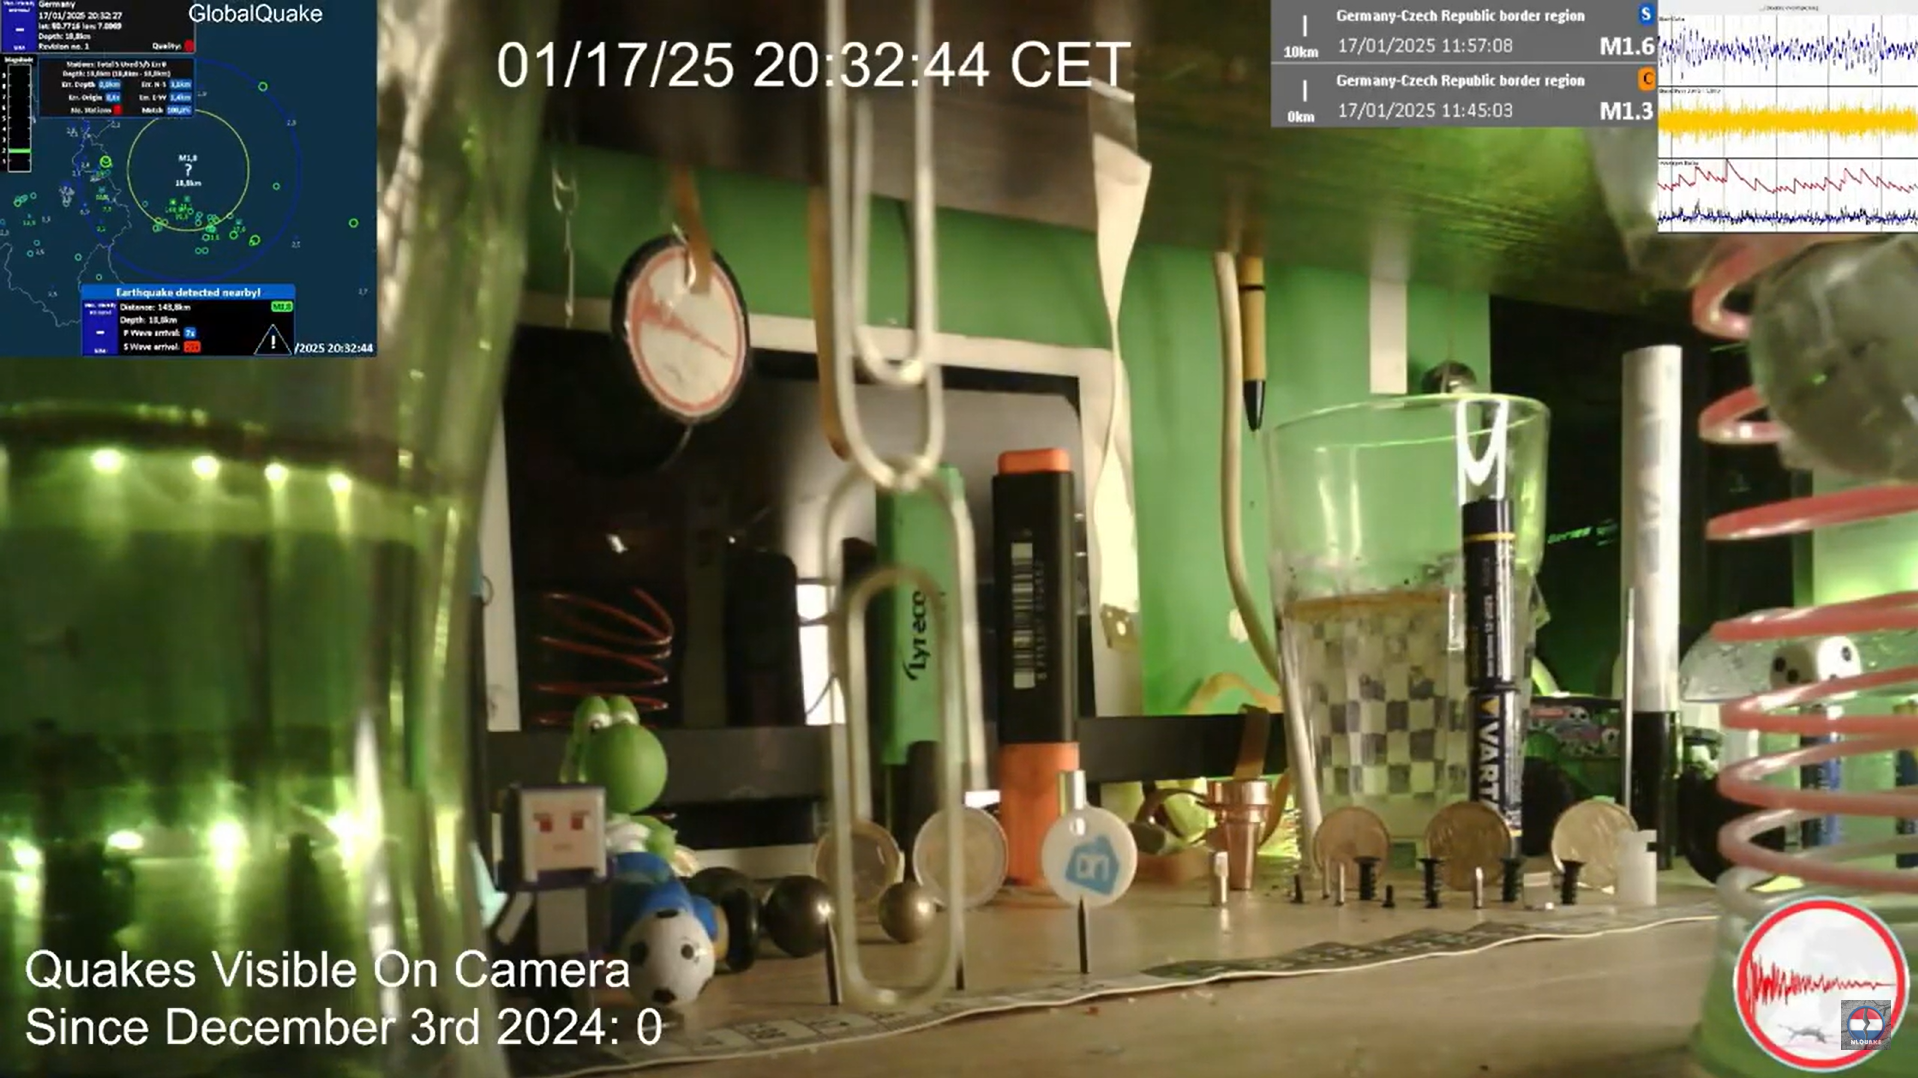
The image above shows what the stream looked like at the time, where you can also see the GlobalQuake program on the top left. It used purely what I had available in the house, which wasn’t much… but it worked! I caught my first earthquake using this setup, even if not visible: a small M 1.9 Earthquake 82 km away. I used this initial setup for about two months before upgrading to an EZVIZ CP1 Pro security camera, which significantly improved my ability to monitor movement.
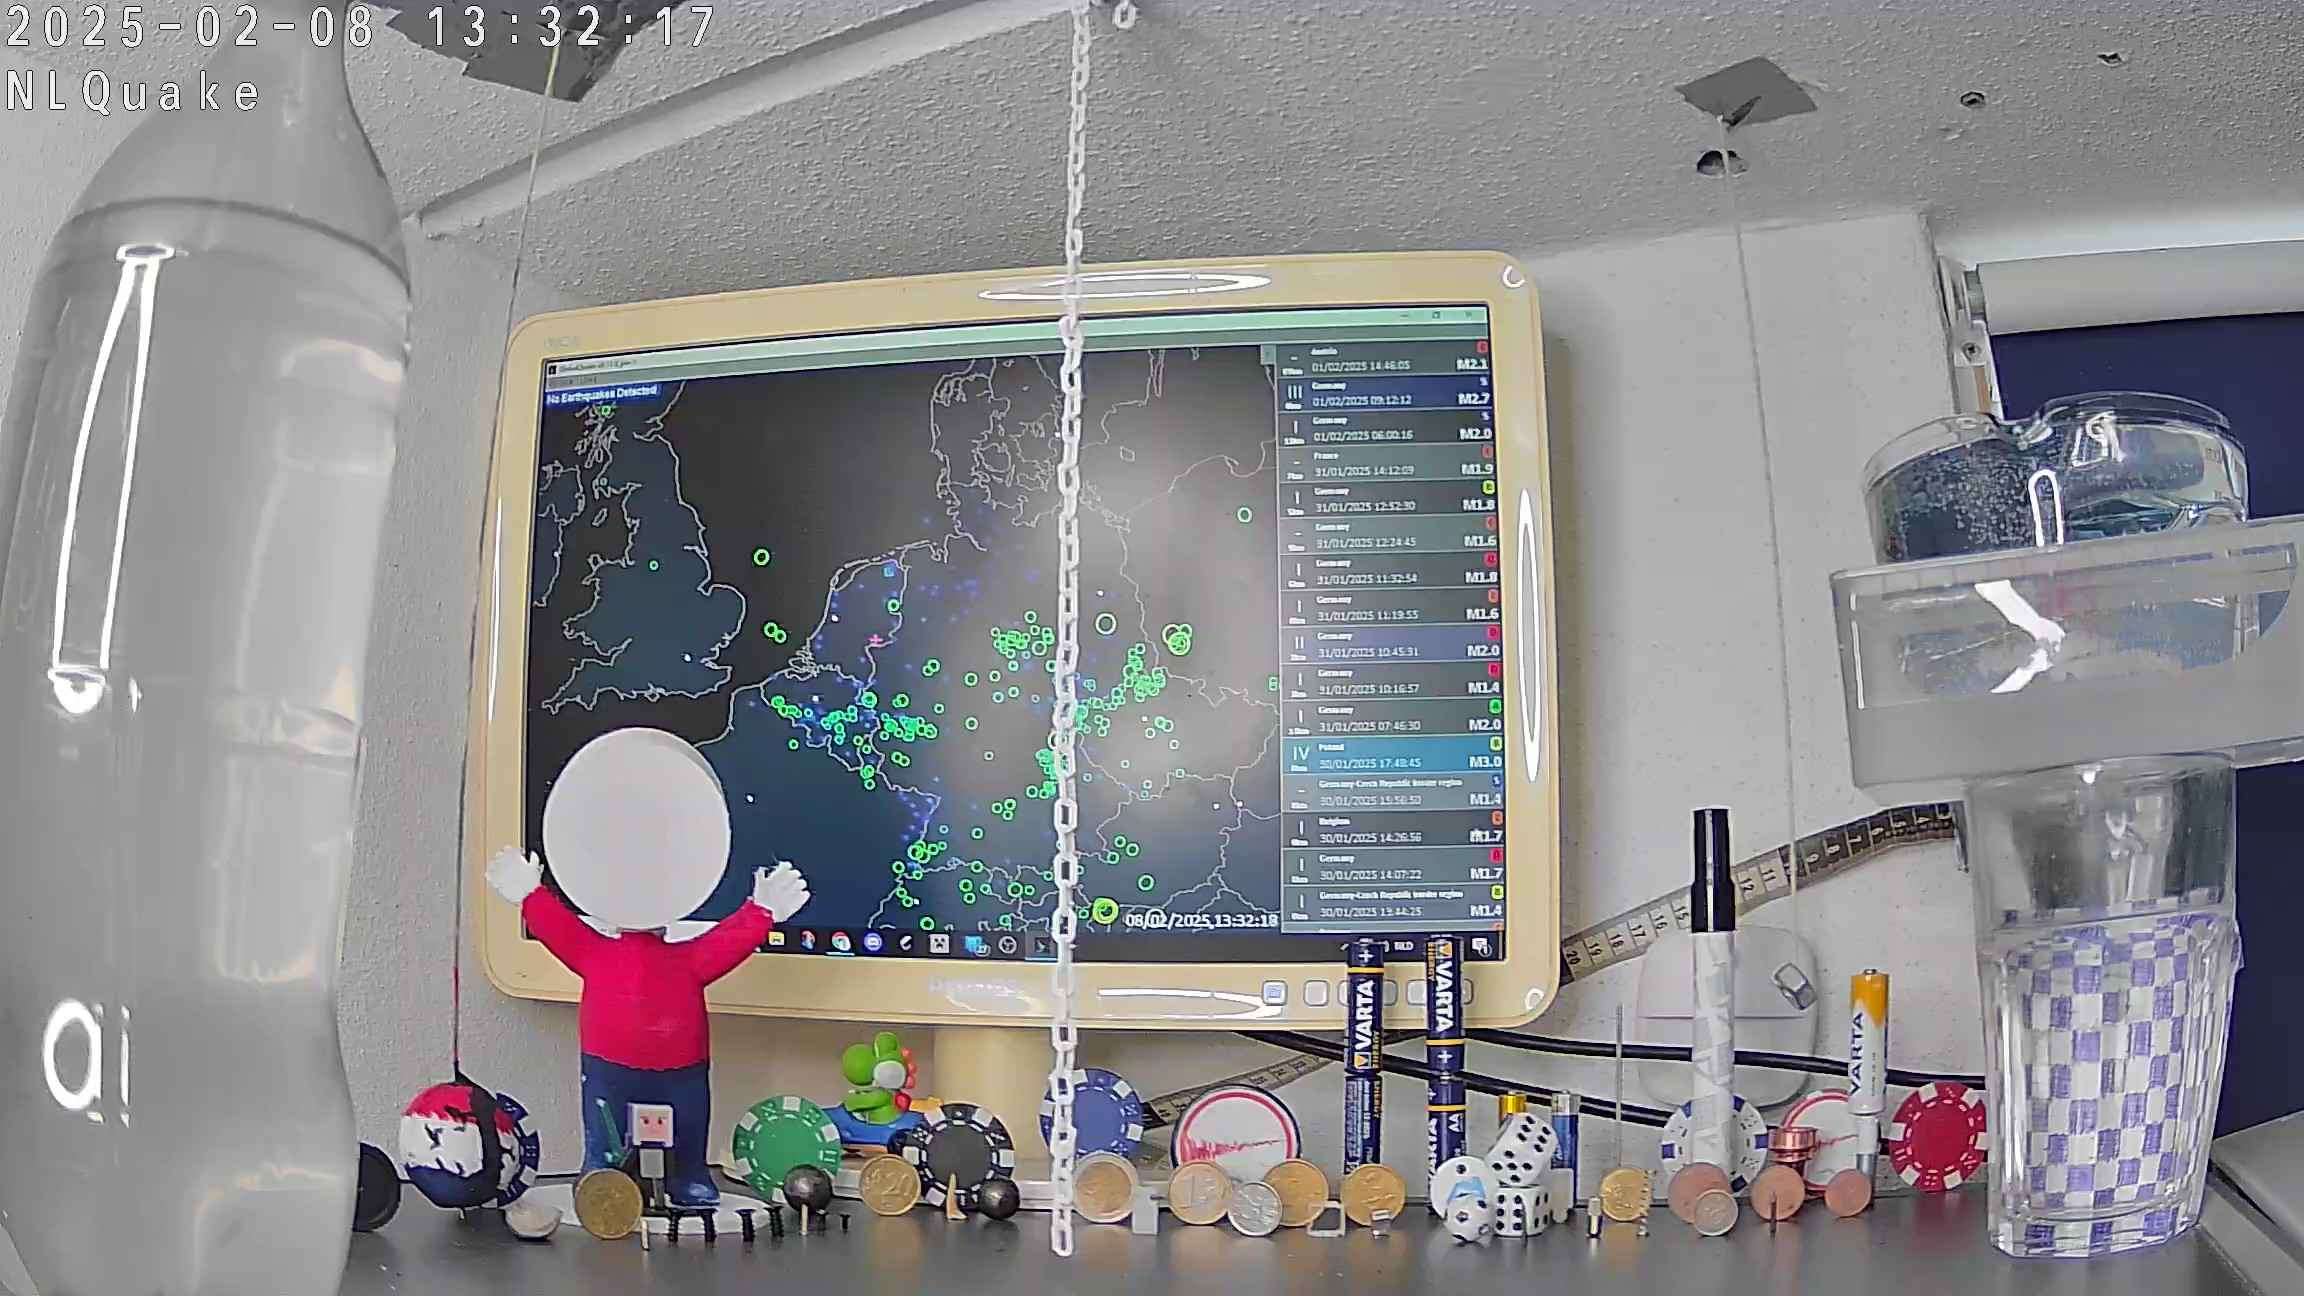
After receiving this camera, I decided to expand my setup, making more space for bigger and better QuakeCam displays. I cleared out some space on top of the closet in my room and started building with a broader range, and instead of including an overlay of GlobalQuake, I positioned a monitor in the back running the program.
As it’s possible to see in the image below, it was way larger than the previous one and contained more items ranging from homemade pendulums to poker chips.
In early February, I had a conversation with my parents about potentially installing a Raspberry Shake if I ever managed to get one, and they recommended using the crawlspace underneath the house.
Conveniently, there already was a hole drilled in the corner of the house, right where the router was, which was perfect if I wanted to lead power and network cables down underneath.
The Shake is Here!
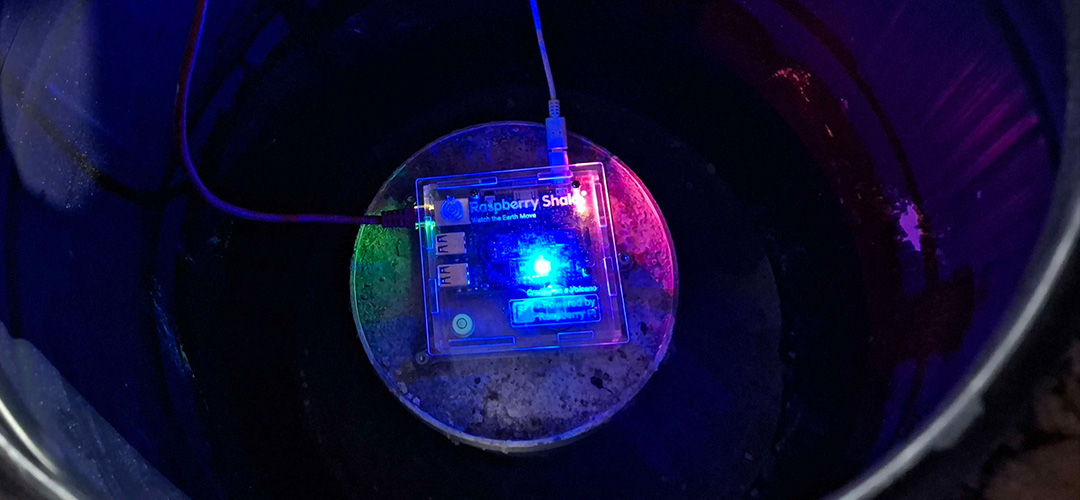
Two weeks later, our Raspberry Shake 1D arrived! My first reaction was: “Wow, this is way smaller than I expected it to be.” I was really impressed by the compactness of the device, and the instructions for setting it up were surprisingly simple. We got it all set up an hour after receiving it, and we started planning how to get it down and install it into the crawlspace.
One of my main concerns was humidity, so I devised a few ideas to protect the Shake from any moisture that could build up if temperatures dropped below freezing. However, upon inspecting the crawlspace for the first time, I was shocked to find it was not humid! It was even as warm as our living room. This was a massive relief because it meant that protection didn’t have to be advanced at all.
Setting up the Shake in its first location
The next day, we figured out that we had to pass an extension cord that could lead from the crawlspace entrance to the other side of the house, which is how I could connect the power cable to the Shake.
We then carefully got the Ethernet Cable and slowly dropped it through the narrow 1.5 cm wide hole in the corner, barely enough to fit the cable through. Luckily, after a few minutes, it was done! After plugging in the Shake for the first time, I grabbed a small plastic container and put it on it before leaving the crawlspace, hoping it would work.
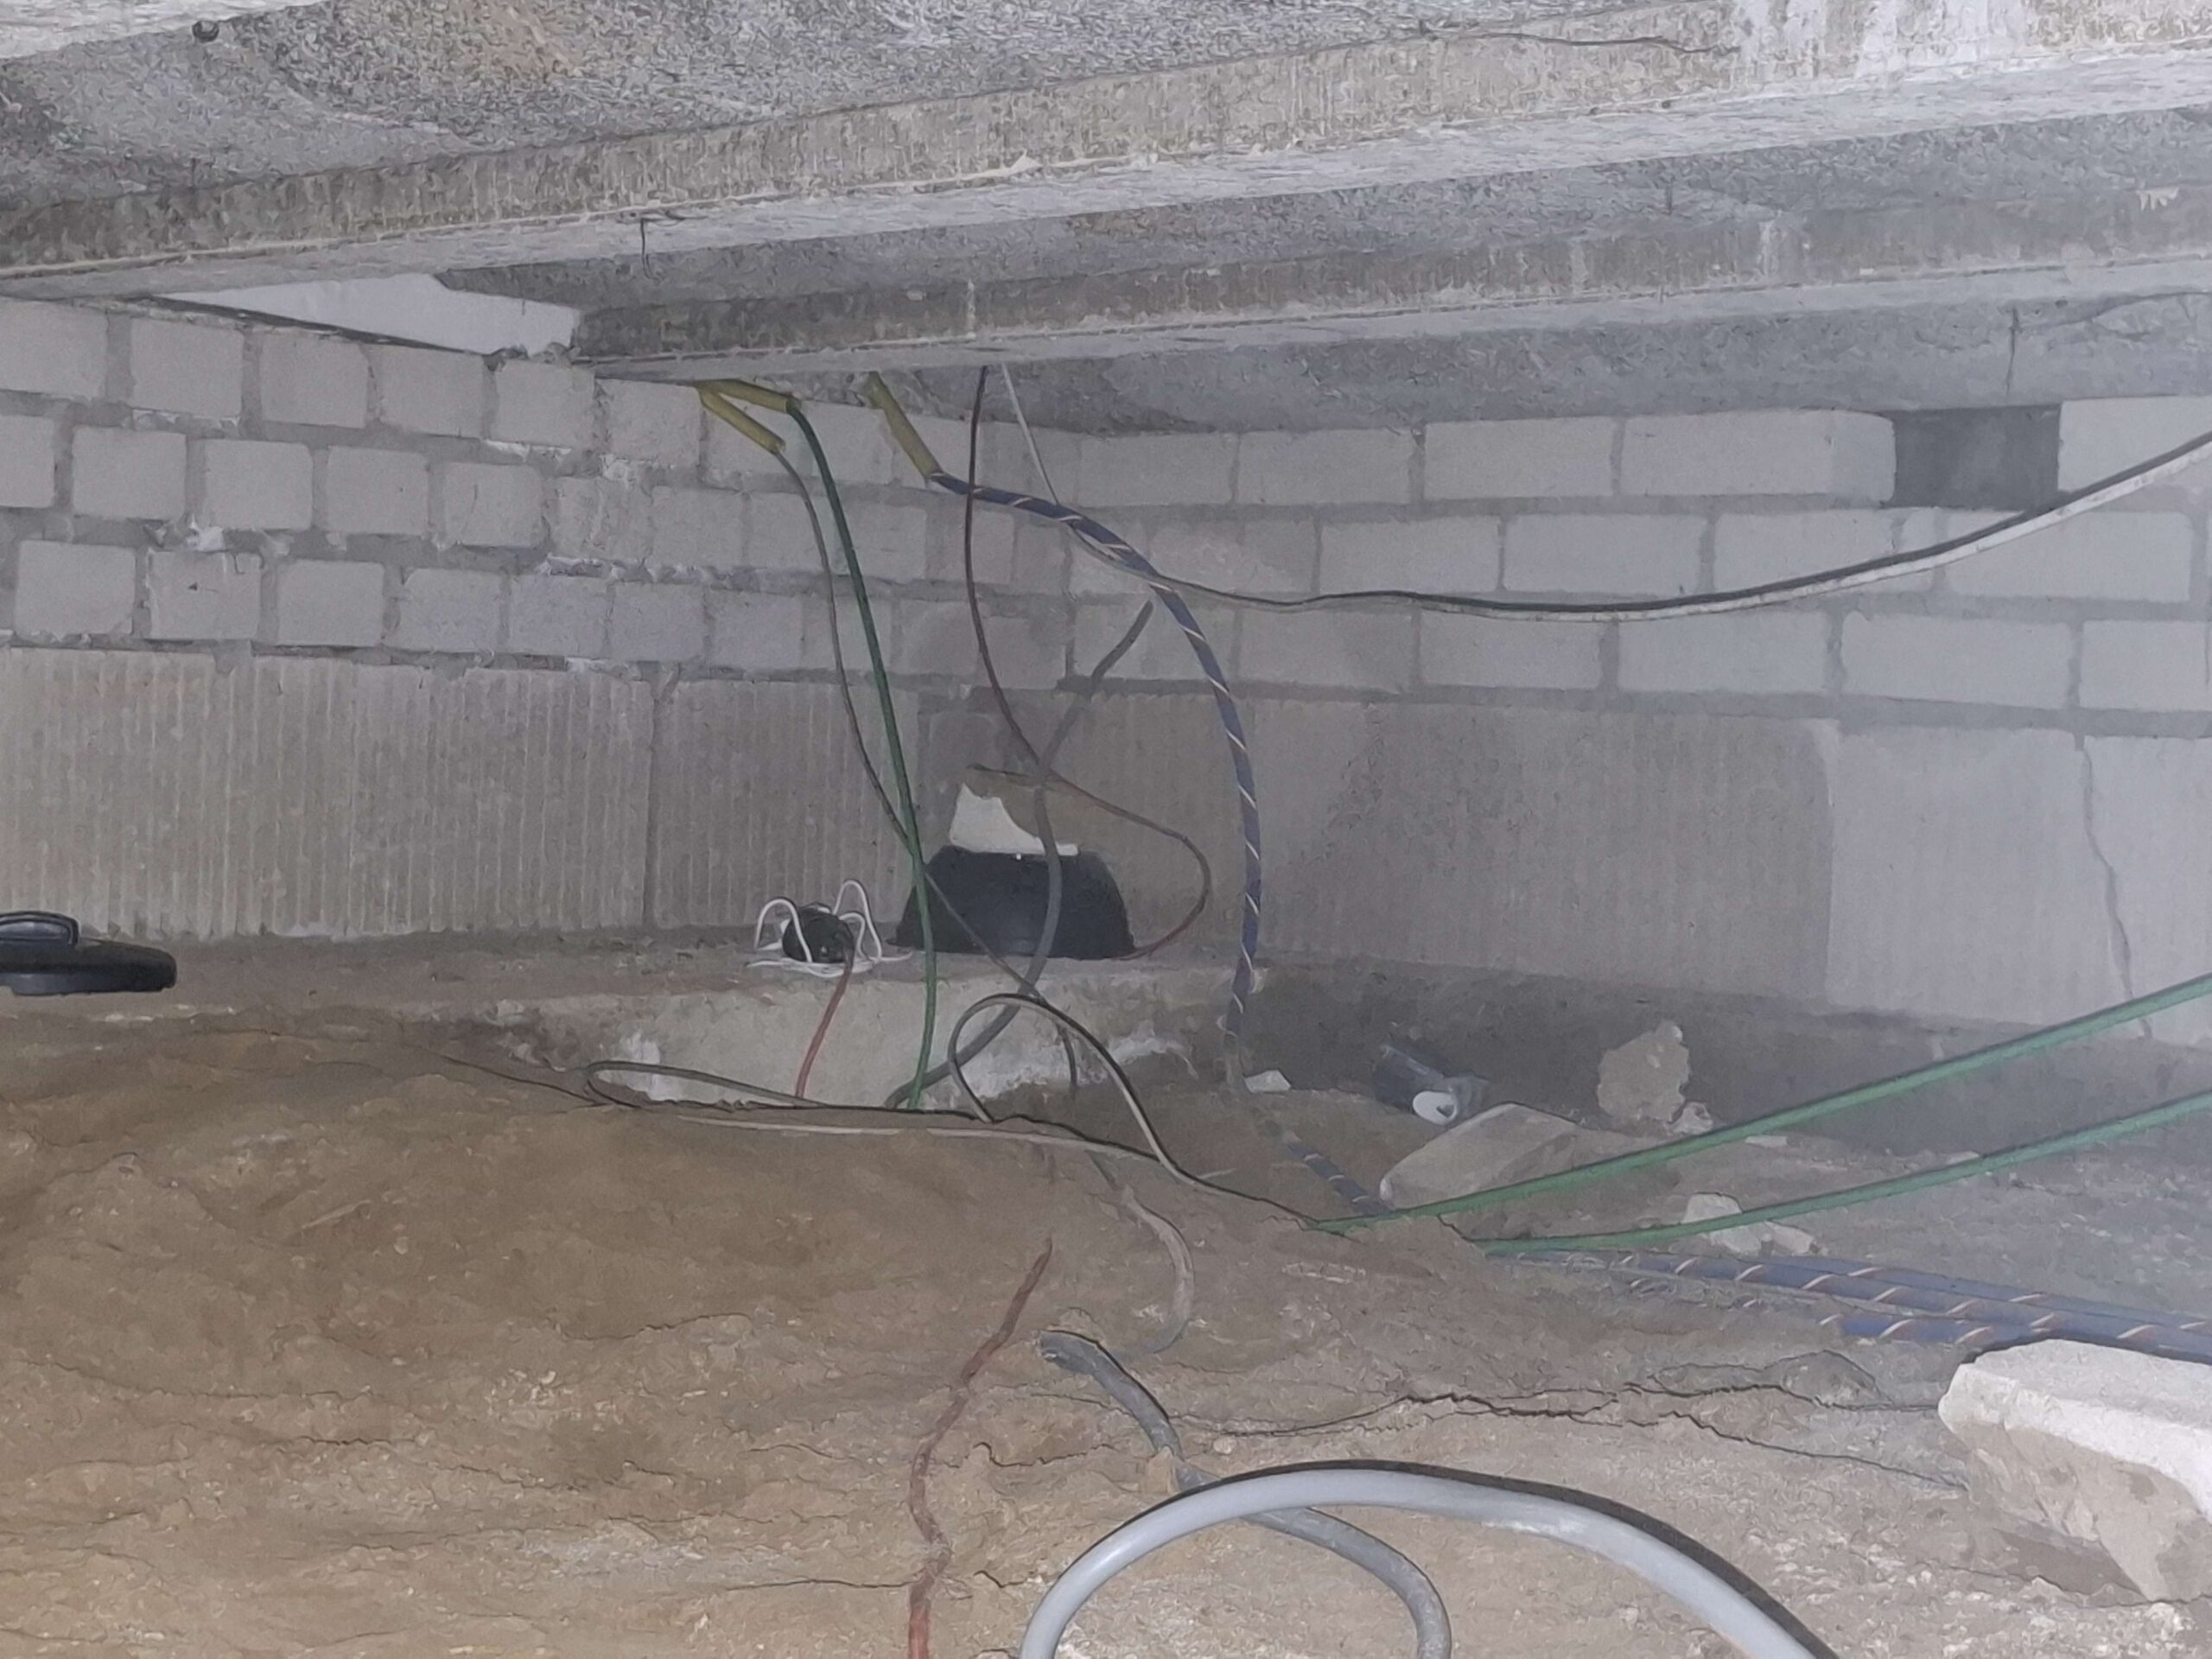
You can see how the setup looked in the pic above. It was a really simple installation: just plug in the two cables and wait for it to connect to the server.
After a few minutes, we got the confirmation that it was now live on the Raspberry Shake network, and we could see it in action for the first time!
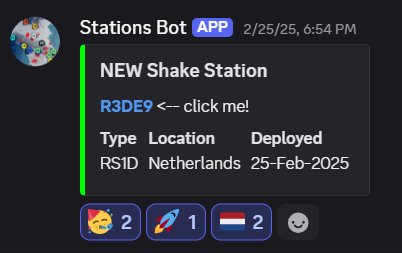
Here’s the Raspberry Shake Discord server Stations Bot showing my shake (R3DE9) coming online!
The Challenges
In the first few days, we were delighted to see that the Shake was working as expected.
But we also noticed one slight issue. The Shake was picking up every footstep we took, making it extremely difficult to see the difference between seismic activity and human activity.
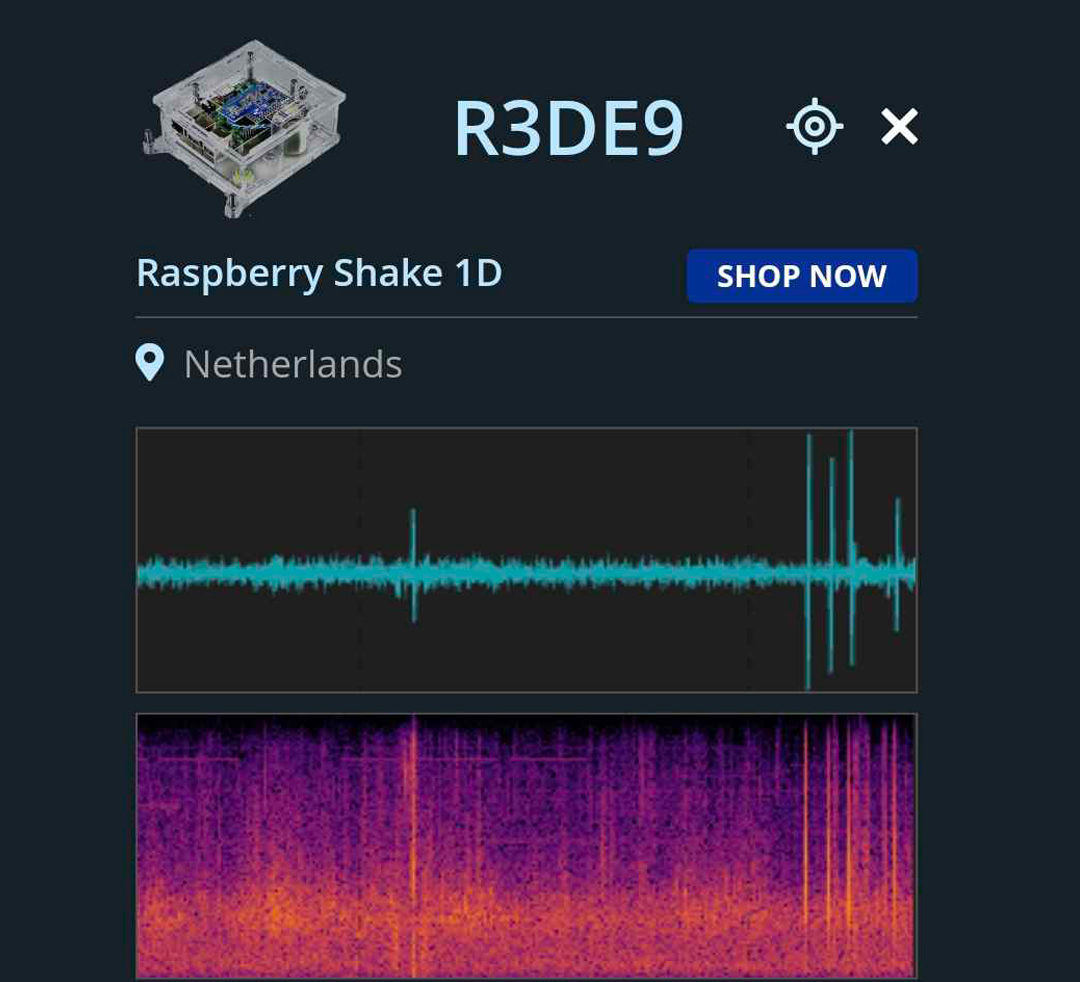
Here’s an example of what it looked like when someone took a few steps above the Shake. The spikes happened every day, only subsiding at night, which is when another problem arose.
Heavy Machinery
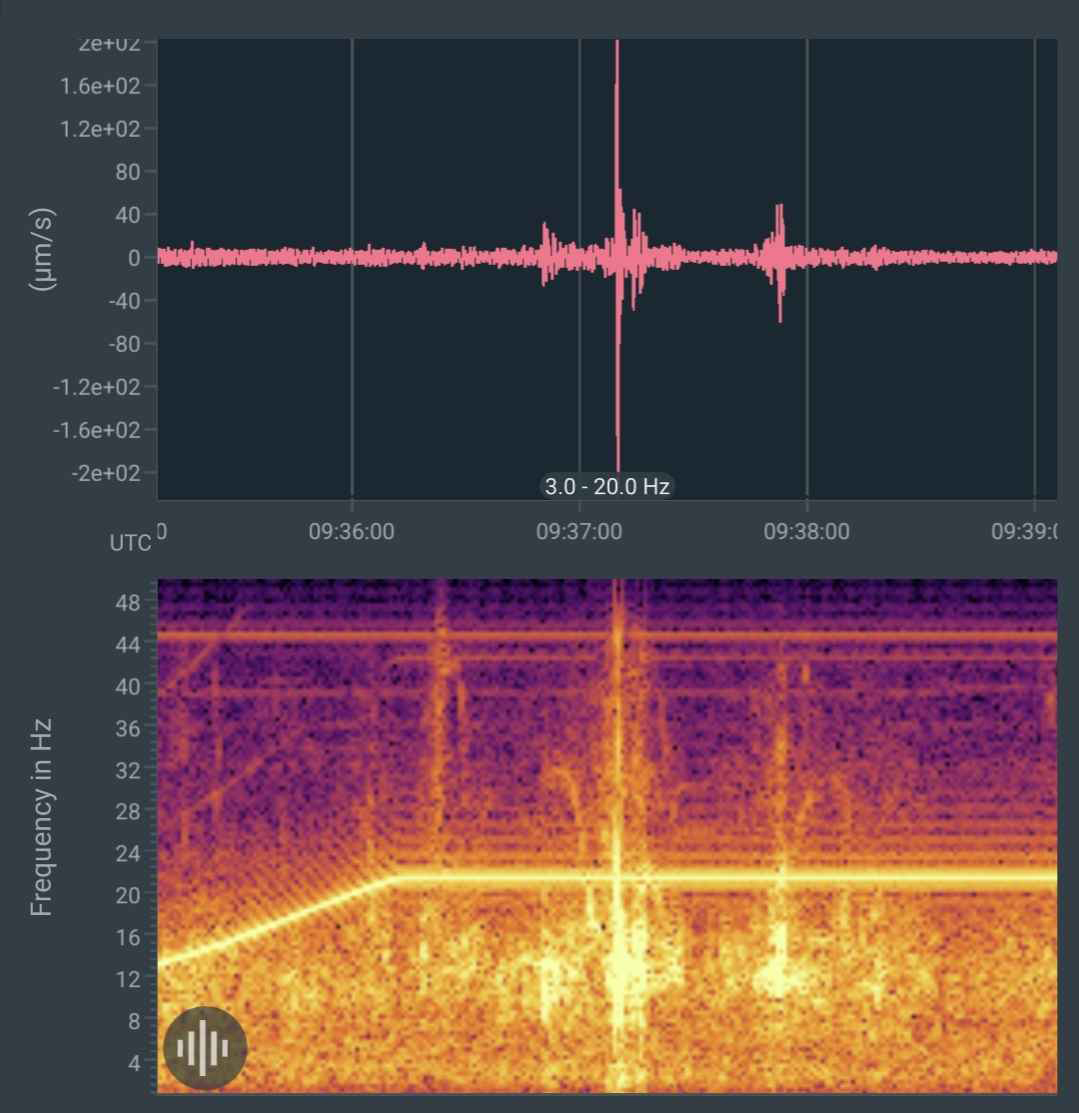
Appliances like washing machines, dryers, refrigerators, and freezers can emit low-frequency vibrations through the ground, giving you amplified data on the seismograph. On the spectrogram, these appeared as continuous orange-yellow lines. Not to mention, they could produce velocity spikes of up to 200 μm/s, higher than, for example, what an M 6.5 earthquake could generate if it were at a distance of 2000 km, or velocities caused by an M 4.0 earthquake 150 km away from my location.
This was really frustrating because my goal was to monitor and have reliable measurements from areas like the Peel Boundary Fault Zone and the faults along the Netherlands/German border.
The upper Ruhr Graben is a part of Germany where seismic activity is often overlooked. There are few seismic stations, meaning there are barely any records of earthquakes hitting that region. A good example is the 2011 Goch earthquake, which struck 25 km away from my location with a magnitude of 4.5, causing Mercalli scale intensity V where I live.
This earthquake’s peculiarity is that no previous earthquakes were recorded even remotely close to its epicenter. And this quake had no foreshocks or aftershocks. Seismologists working for the KNMI (the Koninklijk Nederlands Meteorologisch Instituut – Royal Netherlands Meteorological Institute) still don’t know whether the earthquake was tectonic or induced.
However, they speculate it was caused by the barely active Viersen Fault, which stretches from west of Düsseldorf to just southwest of Goch (both in Germany) where the epicentre was located. This specific event is what motivated me to make my Shake as sensitive as possible to seismic activity and as far away as possible from any noise from heavy machinery or human activity.
The Vault
On March 6th, 2025, we started constructing an underground vault in our backyard. Since there was a limited amount of places we could build it, we decided on somewhere as far away as possible from the main building.
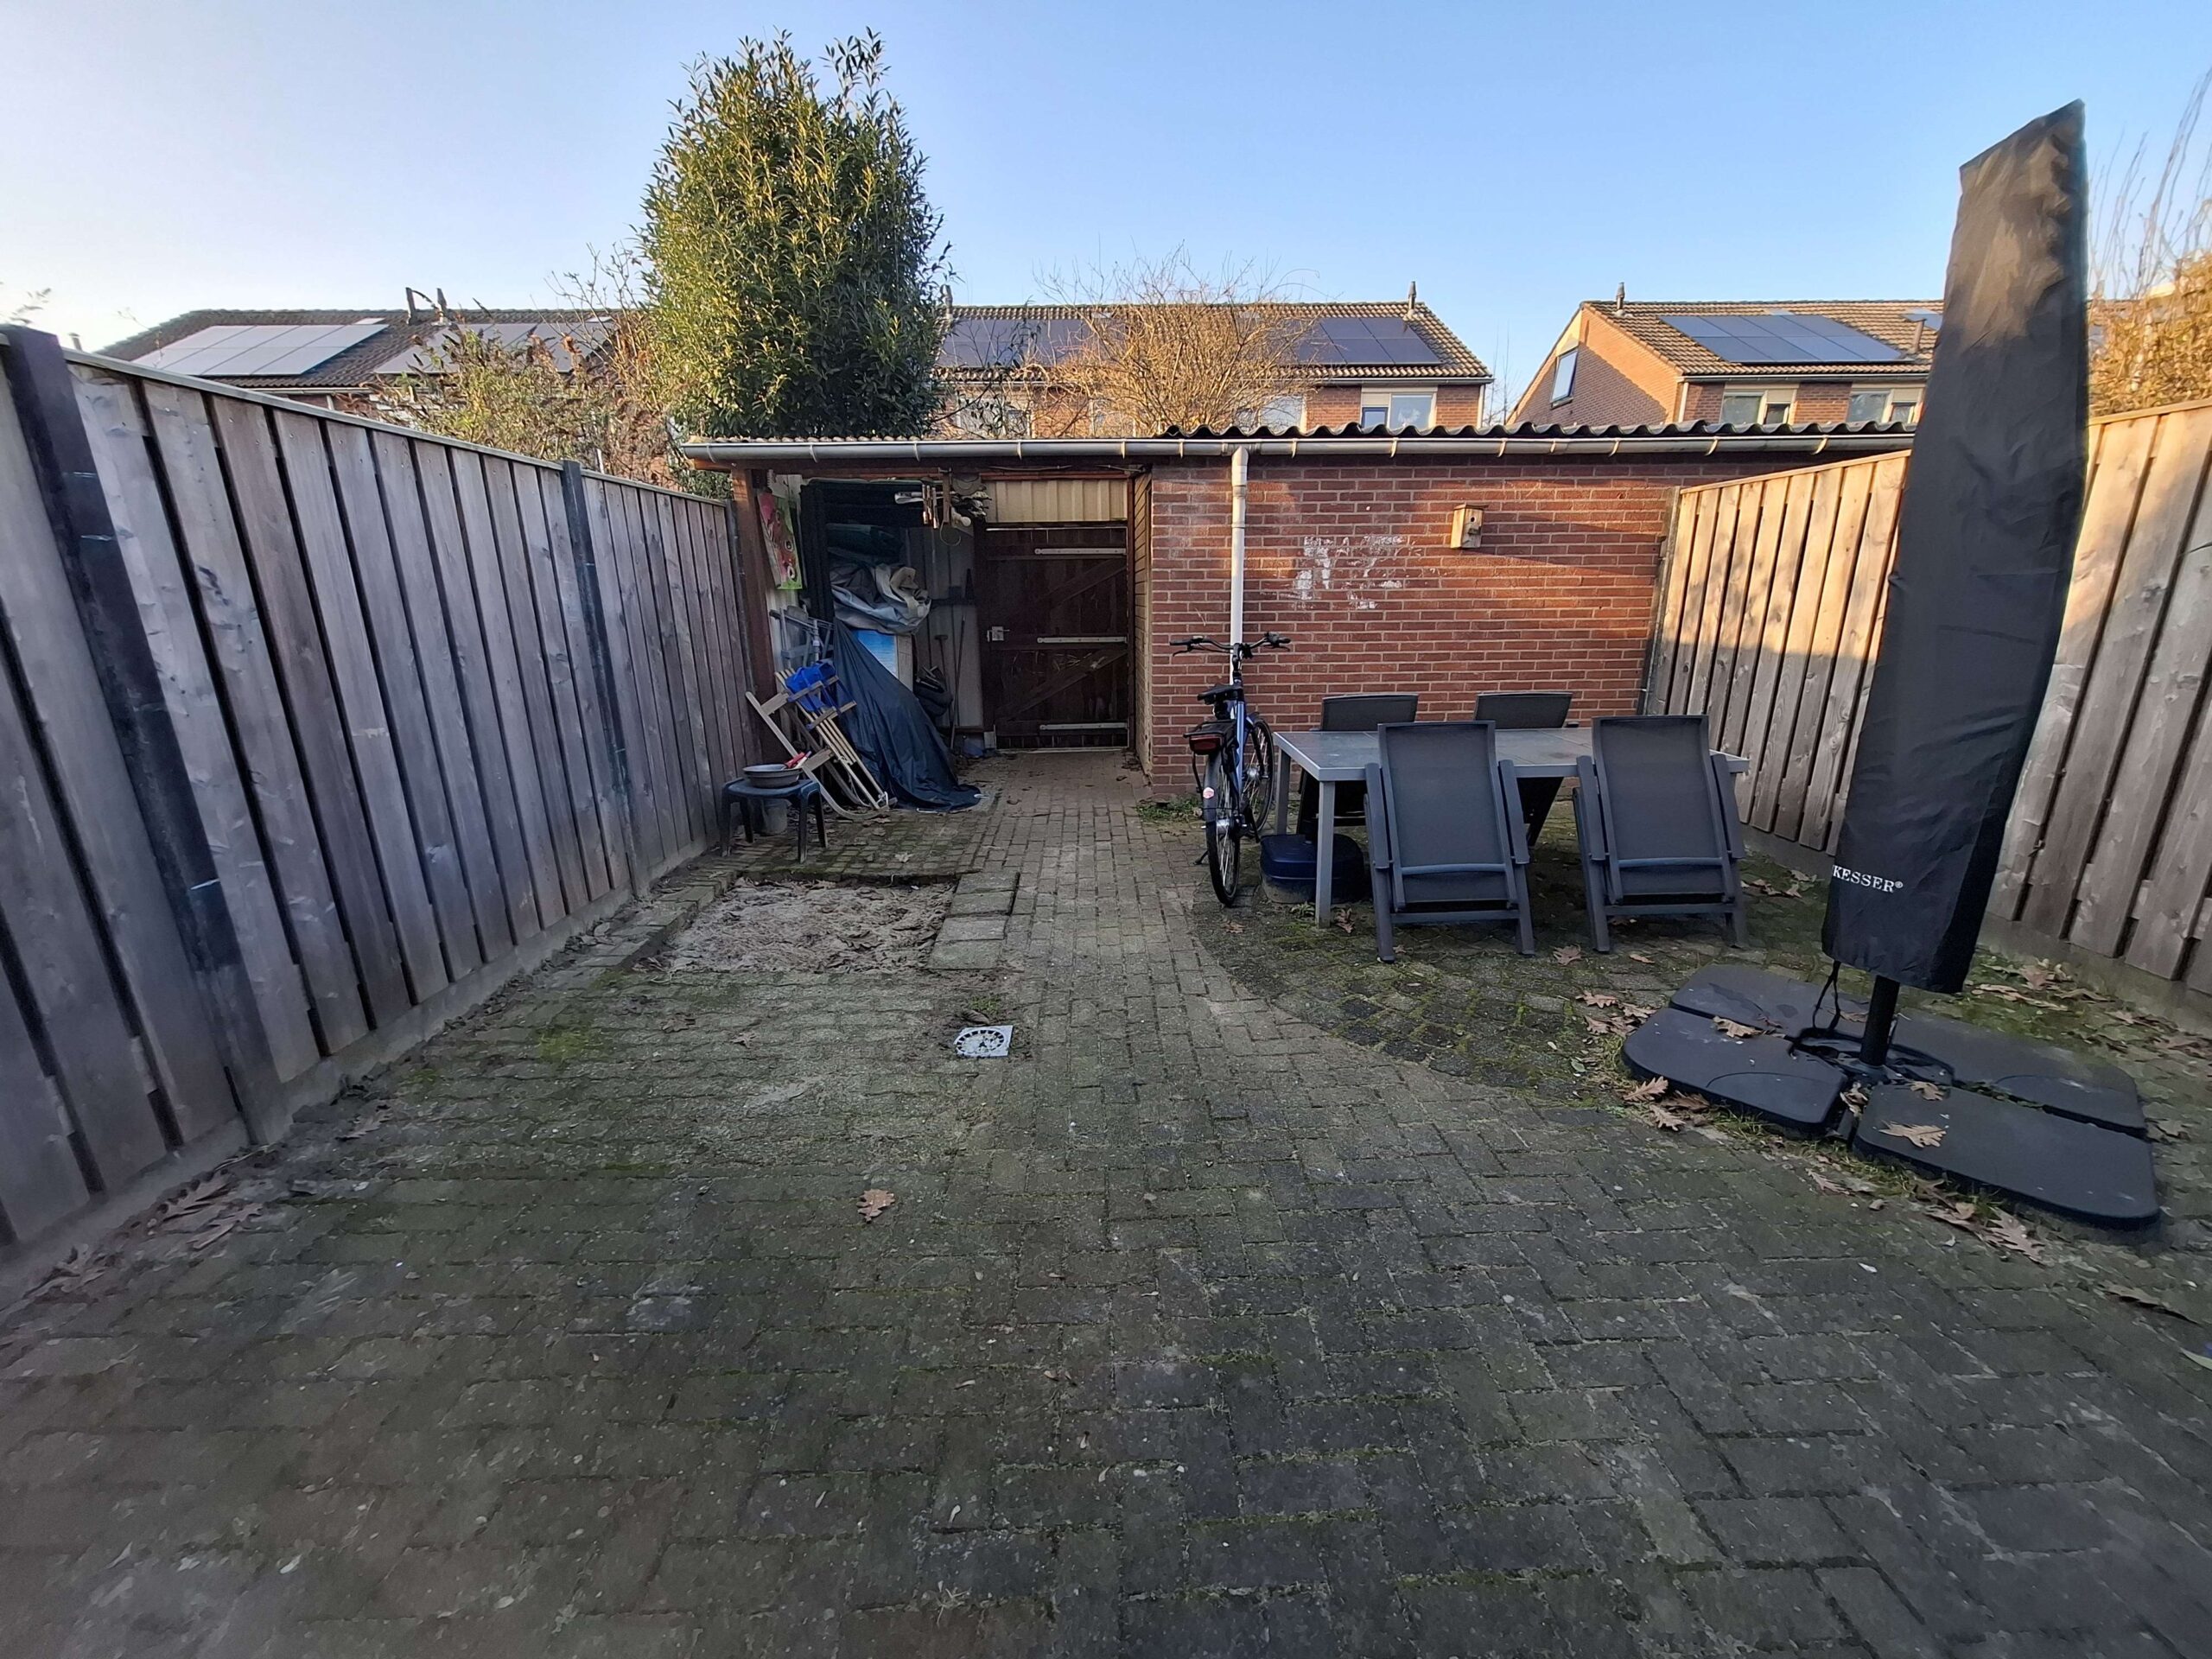
From this view of the backyard, you might think we would build the vault in the already prepared sandpit, but you would be wrong.
Since a roof does not cover that sandpit and is closer to the house, we instead decided to clear out an area all the way in the far back left corner. It would be a covered location as far away from the house and road as possible. I cleared a few things and moved them into the garage the same day.
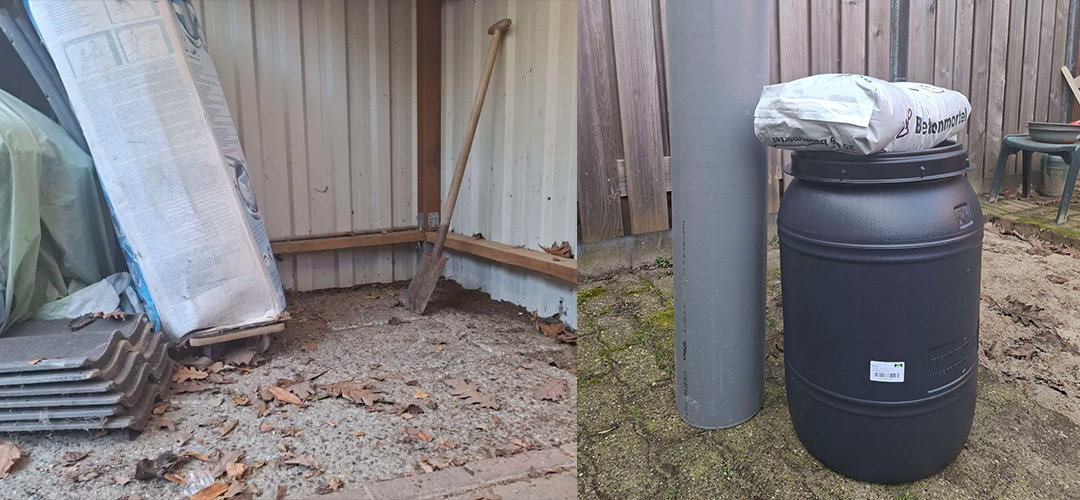
The space was around 1.5 meters wide, which was good, but the tiles extended another half meter towards the left, so we had to move another few things out of the way. I took a quick break before immediately returning to it by removing the tiles from the ground using the shovel you see in the picture. It took me a few minutes, but the digging was easy and efficient. When I finished removing the tiles, I could correctly measure the distance and calculate what I would need to build the vault.
The same day, we visited a few hardware stores around the area and picked up the necessary items. The items we bought were:
- A 60 Liter Barrel (40 cm in diameter and 61 cm in height).
- A PVC pipe (20 cm in diameter and 1 meter in height).
- 75 kg of concrete mortar.
The items are visible in the image above. Our design is heavily inspired by the vault constructed by Steve Caron, another Raspberry Shake owner in California, who has also written several blog posts like this one:
DIY Guide For A Home Raspberry Shake Vault
Unfortunate… But Fortunate Vault Update!
A Wet Shake And Vault Overhaul
His RS station is RD29A. We truly thank you, Steve, for making your blog posts. Otherwise, our vault would definitely not have been as advanced as it is now!
In the evening, I started digging the hole where the barrel and PVC pipe would sit. It would have to be around 55 cm deep for the barrel and another 85 cm for the PVC pipe.
Unfortunately, the only tools I had for digging were the big shovel, which I used to dig the large part of the hole for the barrel, and then a small shovel, which you can hold in one hand, that I had to use to dig the hole for the PVC pipe. Digging the hole for the barrel was easy, but reaching into a 20cm wide hole 140cm deep with a tiny gardening shovel was definitely not easy.
I had to take numerous breaks because I literally had to lean half my body into the hole even to reach the bottom, which caused me to have a bit of back pain after a while. Ouch!
After around two hours of digging, it was as good as done.
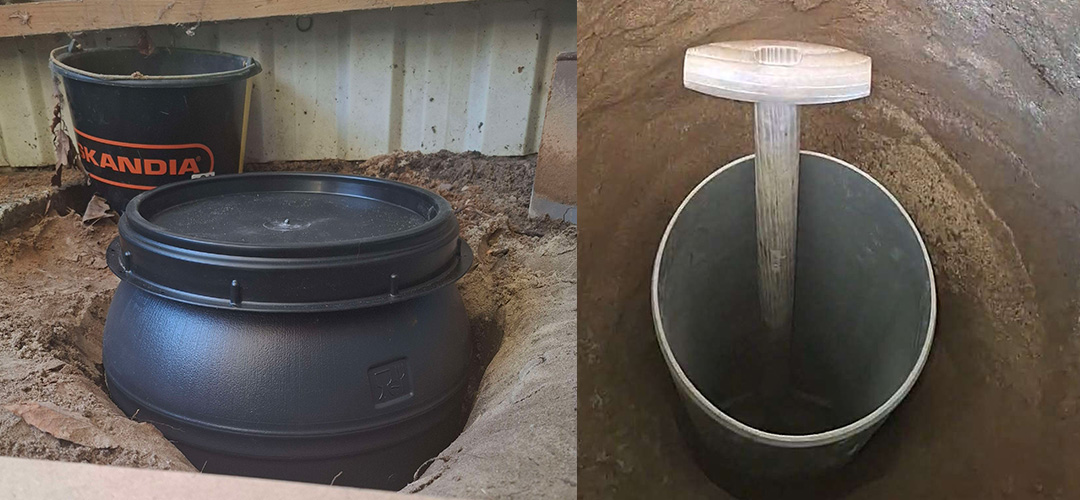
Pouring the concrete
The way we roughly calculated how much concrete mortar we needed was as follows:
Volume = π × radius² × height → π × 10² × 100 = 32L
Since one bag of 25kg of mortar would get you roughly 12L of concrete, we needed 32/12 = 2.7 bags of mortar. It’s just simple math. Thus, we bought three bags of mortar and decided to use what was left to pour inside the barrel to stabilize it.
Mixing the concrete was easy; we just poured around ¾ of the bag into a concrete mixing bucket and used a mixer to stir it with around 2L of water. We also made sure not to pour all the water or mortar instantly, as we had in mind to test out if the thickness of the resulting concrete is suitable for our purposes.
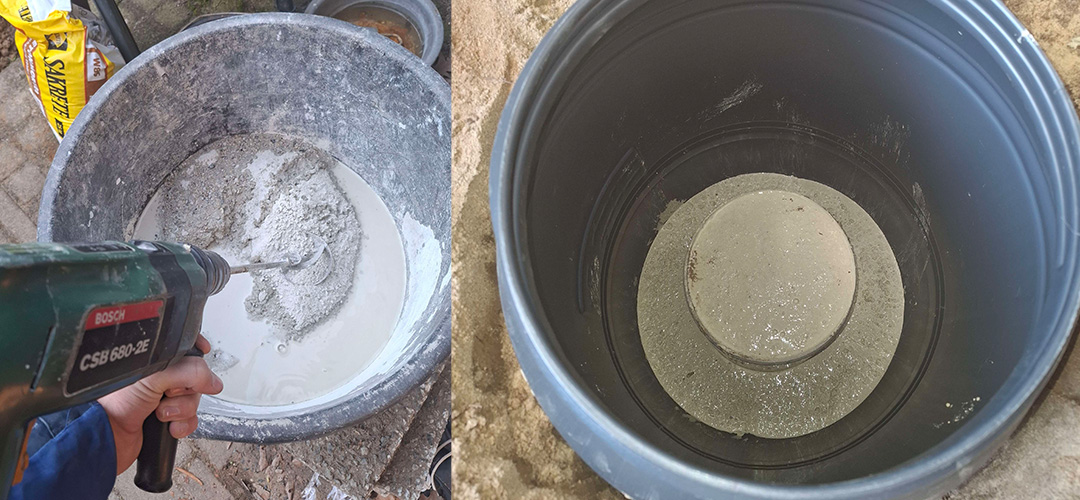
Luckily, my grandpa does a lot of construction, so getting the tools and the bucket was a piece of cake. Making the concrete took only a few minutes, and it was ready to pour.
After pouring the concrete into the PVC pipe to make the pier, we cut a hole out of the barrel the size of the pipe so it would slide over it nicely. After dropping the barrel over the pier, we also filled the bottom with concrete.
After pouring, we just had to wait 48 hours for the concrete to harden in full. Then, we would place the Raspberry Shake on top and settle it into its permanent home.
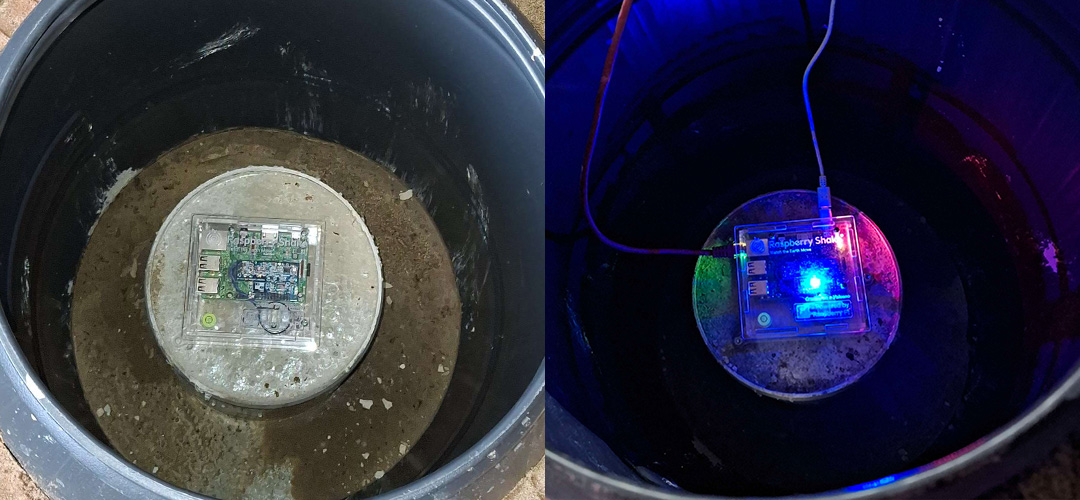
For the first night, we plugged in the Raspberry Shake and had it sit loosely on the pier since we didn’t yet have the tools to screw it into the concrete that came the next day.
We then borrowed a concrete drill from my grandpa and settled the Shake down. Drilling in the right places was much more complex than anticipated since the concrete was so hard the drill could barely get through, but it just worked out. After securing the Raspberry Shake in its place, we plugged it back in again, put the screw lid back on and left it there for another day to see if it would work as we hoped.
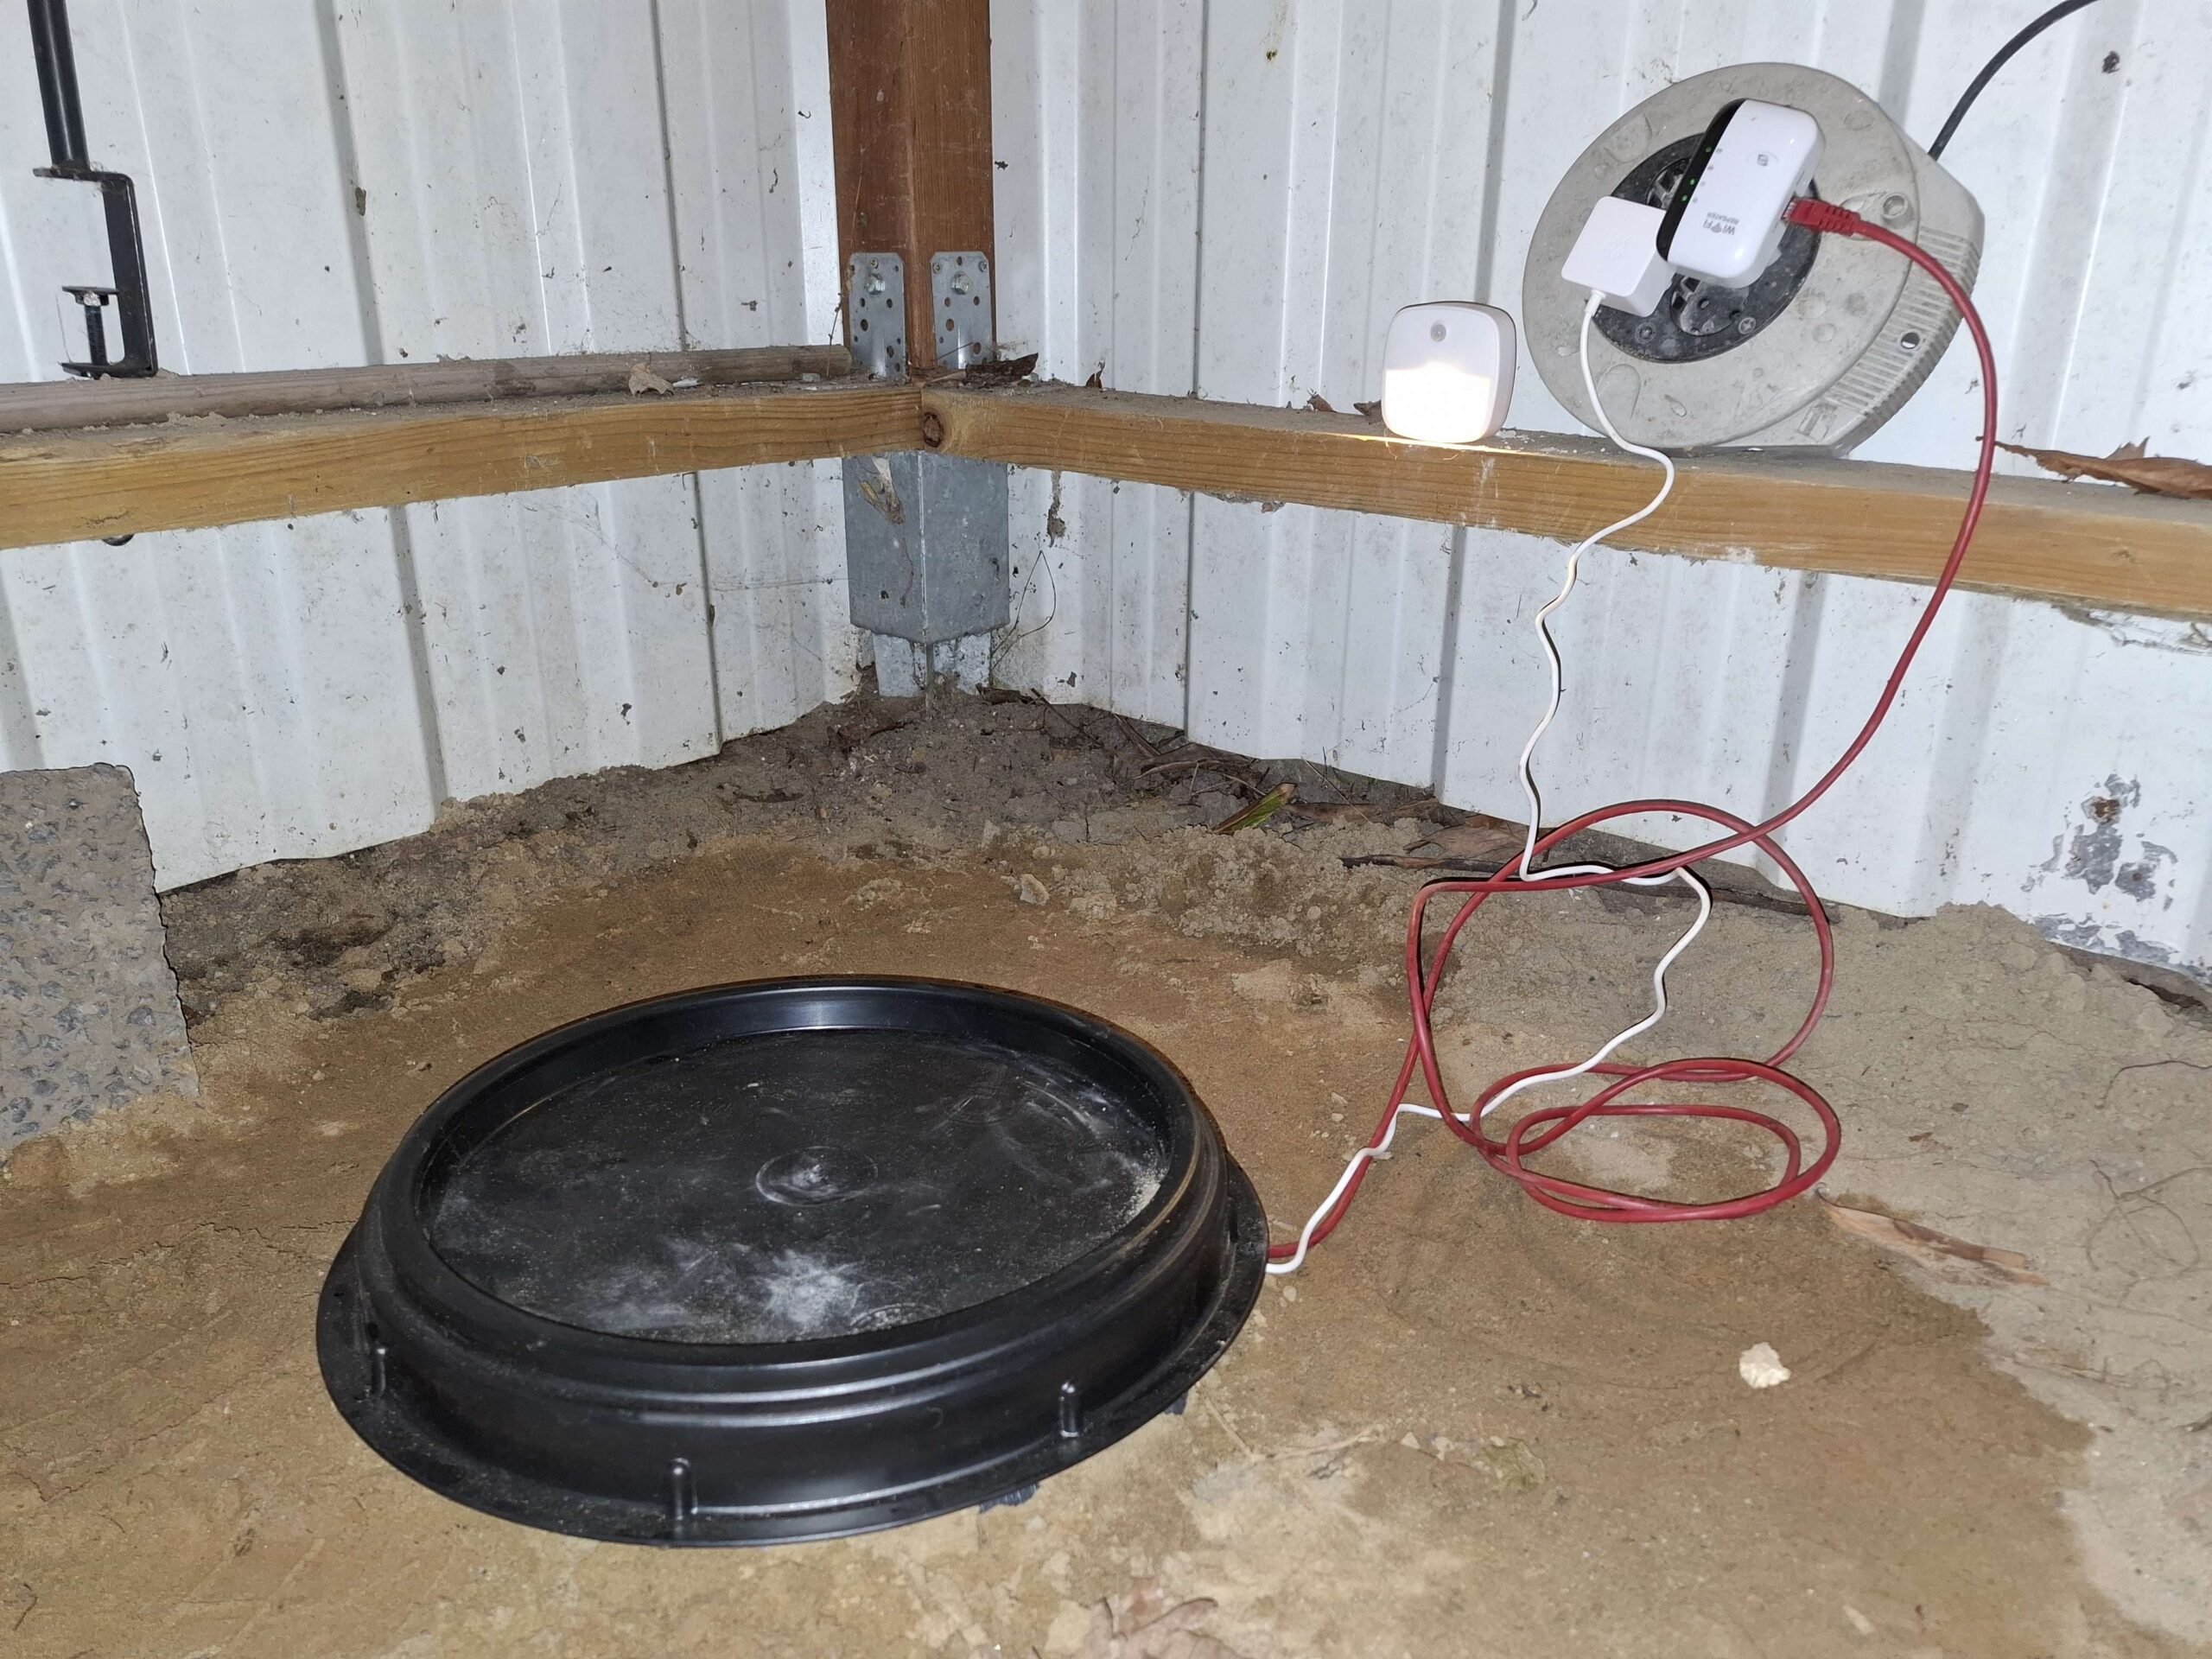
The next day we checked the vault and, although a bit of condensation built up around the sides of the barrel, the Shake was fine. A simple fix to that was to put a bag of silica balls next to it to absorb all the moisture that might build up over time.
The day before I got the Raspberry Shake, the biggest earthquake in around 1.5 years hit the Netherlands, and the day after I unplugged it to undergo construction, a magnitude 6.5 earthquake hit 2200 km north of my location, which was caught clearly by another Shake a few kilometres away from me.

However, my Raspberry Shake has now been useful in catching two local earthquakes which happened on a fault, the Viersen Fault, which has been inactive for the past fourteen years. Although small, they were clearly visible since the distance between the quakes and my Raspberry Shake was only 30 km. Not to mention the recent 7.7 earthquake in Myanmar which was also visible.
You can check out my RaspberryShake using the StationView web app: R3DE9.
Also, feel free to reach out in the Raspberry Shake Discord to ask me more about my experience (@mr_insane_yt)!